
You cannot confirm quail egg fertility by shell appearance alone. Fertility is determined at the microscopic germinal disc and cannot be seen through the shell. What you can do is use science-backed screening to remove eggs that rarely hatch and improve overall hatch success. For a full A-to-Z process, see our Quail Egg Incubation Guide.
Key Takeaways
- Shell look cannot prove fertility; confirmation requires breakout microscopy or later candling.
- Screen for intact, medium, clean eggs from healthy breeders; discard cracked, dirty, double-yolk or misshapen eggs.
- Do not wash hatching eggs; protect the natural cuticle. Store small end down at cool temperature and moderate humidity.
- Use candling after several days of incubation to verify development; follow our Quail Egg Candling Guide.
Fertility Limits
Why You Can’t See Fertility
Fertility is identified at the germinal disc on the yolk; distinguishing fertile from infertile requires opening the egg and microscopic examination. This destroys the egg, so it cannot be used for hatching. External shell color, speckles, size, or sheen do not indicate fertility.
Bottom line: shell appearance cannot diagnose fertility; use it only to screen for obvious defects.
Common Myths
- No shell color or speckle pattern proves fertility.
- Double-yolk eggs show very poor hatchability and are not used for incubation.
- Cracked or heavily soiled eggs rarely hatch and increase contamination risk.
For a practical, day-by-day workflow after setting, follow our Selection to Brooding overview and see common pitfalls in Incubation Failures and Fixes.
What to Look For in Quail Hatching Eggs
Use these science-based criteria to choose eggs more likely to hatch. Screening does not “prove” fertility, but it improves batch quality.
Shell Quality
Select eggs with sound, intact shells. Avoid cracks, chips, very thin or rough “sand” shells, and any eggs with heavy contamination. Do not attempt aggressive cleaning; removing the cuticle increases bacterial penetration and lowers hatch.
|
Egg Type |
Characteristics |
Hatch Likelihood |
Action |
|---|---|---|---|
|
Normal |
Clean, intact, regular oval |
High (typical 70–80% when other factors are correct) |
Set |
|
Cracked/Chipped |
Any shell damage |
Very low |
Discard |
|
Double-yolk |
Two yolks |
Poor hatchability |
Discard |
|
Dirty |
Heavy fecal/dirt contamination |
Low and high contamination risk |
Discard |
|
Odd-shaped |
Too round or too pointy |
Reduced |
Use with caution |
Size and Shape
Medium eggs with a regular oval shape are preferred. Extremes in size and abnormal shape correlate with poorer hatch and chick quality. Keep batch weight and shape consistent for even incubation.
|
Trait |
Description |
|---|---|
|
Egg Size |
Choose medium; avoid extremes |
|
Shape Index |
Regular oval supports normal embryo positioning |
|
Weight Consistency |
Uniform weights incubate more evenly |
Tip: hold eggs near a light to spot external micro-cracks; this is not candling of the interior.
Cleanliness & Handling
- Collect frequently; select clean, dry eggs. Avoid washing to preserve the cuticle.
- Store small end down at ~55–60°F (13–16°C) and ~70–75% RH. Turn daily during storage.
- Set within a week for best results; longer storage progressively reduces hatchability.
Checklist for Selecting Eggs to Set
- Shell intact; no cracks or thin spots
- Medium size; regular oval shape; consistent weight
- Clean and dry surface; no heavy soiling
- From healthy, active breeders
- Stored small end down at cool temperature and moderate humidity; turned daily
- Set within 7 days where possible
Remember: screening improves the batch; confirmation comes later with candling. Once your eggs are ready, moving them into a reliable automatic egg incubator helps maintain stable temperature and humidity for higher hatch success..
How to Check for Fertility Without Candling
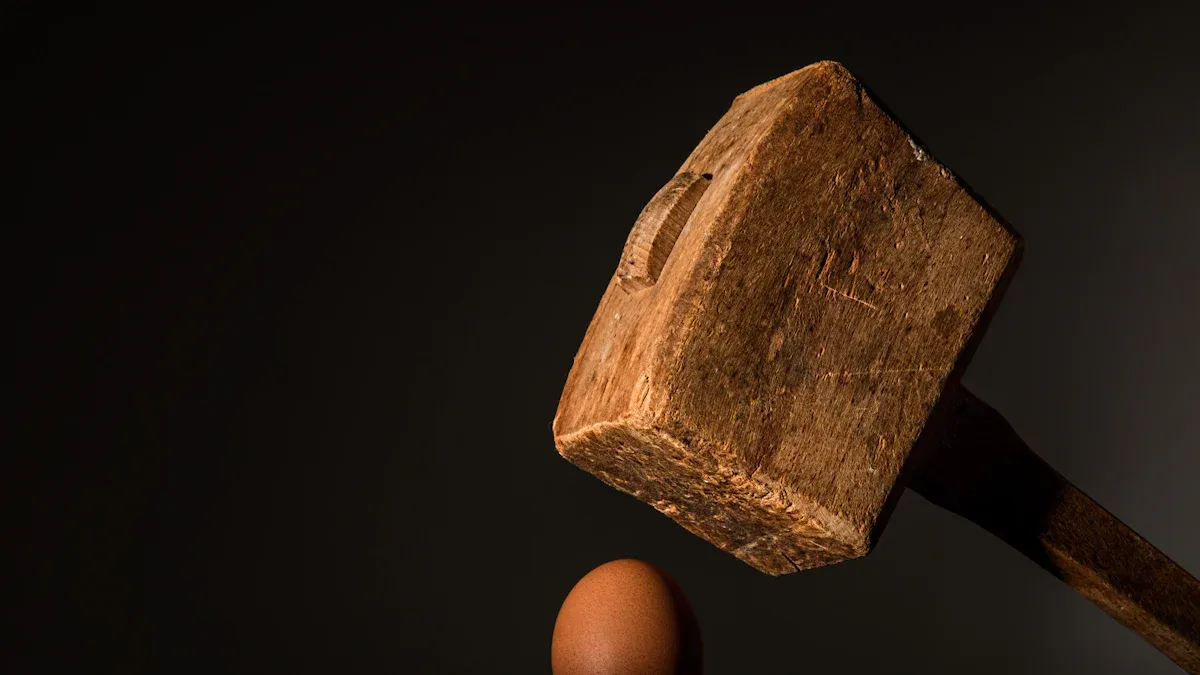
The Bullseye Method (Breakout)
The breakout method cracks the egg and inspects the germinal disc for a “bullseye.” It can verify fertility from fresh eggs but destroys the egg, so it is used only for sampling, not for eggs you intend to hatch.
Why Candling Still Matters
If you want to keep eggs viable, verify development by candling several days after set. Look for blood vessels and a developing embryo. See our step-by-step Quail Egg Candling Guide.
|
Method |
Use Case |
|---|---|
|
Breakout (bullseye) |
Confirms fertility on sample eggs; destructive |
|
Candling (after set) |
Non-destructive development check for all eggs |
Storage time has a measurable impact on hatch performance. Set promptly for best results, and follow our full incubation guide for temperature, humidity, turning, and lockdown best practices.
|
Storage Duration |
Expected Impact |
|---|---|
|
≤ 7 days |
No meaningful loss in hatchability under proper conditions |
|
8–14 days |
Progressive decline; careful handling and turning recommended |
|
> 14 days |
Noticeable reduction in hatchability; extend set only if necessary |
- Pick clean, intact, medium eggs; set soon after collection.
- Avoid washing; preserve the cuticle. Store cool with moderate humidity and turn daily.
- Use candling to confirm development and remove clears later.
FAQ
How can you spot a fertile quail egg before incubation?
You cannot confirm fertility by looking at the shell. Use screening to select better eggs, then confirm later by candling.
Should you wash quail eggs before incubating them?
Do not wash hatching eggs. Washing removes the protective cuticle and increases bacterial penetration risk.
What is the best way to store quail eggs before incubation?
Store small end down at about 55–60°F (13–16°C) and ~70–75% RH; turn daily and set within a week when possible.
References
- University of Florida IFAS. Egg Quality (germinal disc basics and fertility identification by breakout).
- University of Georgia Extension. Breakout Analyses Guide for Hatcheries (distinguishing fertile vs infertile by germinal disc).
- Mississippi State University Extension. Keys to Successful Handling of Hatching Eggs (do not over-clean; protect cuticle; discard very dirty eggs).
- MOFGA Fact Sheet. Cleaning, Grading and Hatching Eggs (do not wash; storage at ~55–60°F and 70–75% RH; turn daily).
- Adriaensen H. et al. 2022. How Egg Storage Duration Prior to Incubation Impairs Hatchability (≤7 days storage shows minimal impact; longer storage reduces hatch).
- Próchniak T. et al. 2025. Hatching performance of Japanese quail from eggs stored for different periods (quail-specific storage duration effects).
- Banaszewska D. et al. 2023. Development of Chicken Embryos in Double-Yolk Eggs (double-yolk eggs have very low hatchability and are not used for incubation).


0 Comments