
Starting your journey as a poultry keeper can feel overwhelming — but with the right setup and a simple routine, anyone can hatch healthy chicks at home.
- Place incubator in a draft-free room (68–78°F) and level surface.
- Run empty for 24 hours to stabilize 99–101°F and 50–55% RH.
- Source fresh, clean, fertilized eggs (<10 days old), large end up.
- Wash hands; avoid washing eggs (protective bloom).
- Turn eggs 3–5×/day (odd number is best) until Day 18.
- Day 18 “Lockdown”: stop turning; raise humidity to 65–70% RH.
- Do not open incubator during hatch; let chicks dry before brooder move.
- Brooder week 1 at 95°F; drop 5°F/week.
Key Takeaways
-
Choose the right incubator: models with automatic temperature/humidity controls simplify success.
-
Select healthy, fertilized eggs from trusted sources; avoid cracked or dirty shells.
-
Stabilize temperature & humidity: 99–101°F; 50–55% for Days 1–18; 65–70% for lockdown.
-
Turn eggs consistently (3–5×/day) until Day 18; stop for lockdown.
-
Be patient during hatch; keep the incubator closed for stable conditions.
How to Hatch Chicken Eggs at Home
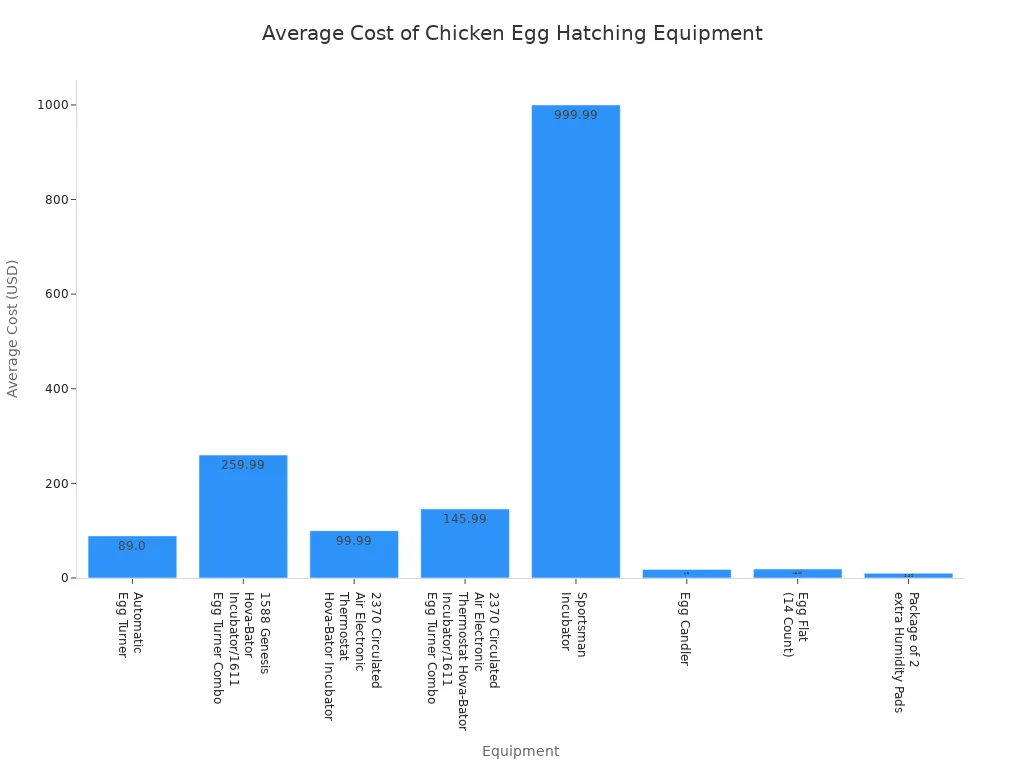
Equipment Needed
The incubator is the heart of the setup. Add a reliable thermometer, a digital hygrometer, and ideally an automatic turner. A bright egg candler lets you check development without overheating the egg.
Types of Incubators
Entry models like the 1588 Genesis Hova-Bator offer automatic temperature control; cabinet units (e.g., Sportsman) suit larger batches. Better control tends to mean better hatch rates for beginners.
| Equipment | Average Cost |
|---|---|
| Automatic Egg Turner | $89.00 |
| 1588 Genesis Hova-Bator Incubator/1611 Egg Turner Combo | $259.99 |
| 2370 Circulated Air Electronic Thermostat Hova-Bator Incubator | $99.99 |
| 2370 Hova-Bator / 1611 Turner Combo | $145.99 |
| Sportsman Incubator | $999.99 |
| Egg Candler | $17.99 |
| Egg Flat (14 Count) | $18.99 |
| Package of 2 Extra Humidity Pads | $9.99 |
Optional Tools
Egg flats help short-term storage; spare humidity pads make fine-tuning easier in dry climates.
Tip: Automatic temperature/humidity control greatly reduces beginner errors.
Choosing Fertilized Eggs
Where to Source Eggs
Buy from biosecure hatcheries or reputable local breeders (e.g., CWT Farms International, Stromberg’s, Freedom Ranger Hatchery).
How to Select Healthy Eggs
- Match egg size to incubator trays; choose your desired breed.
- Prefer eggs ≤ 10 days old.
- Reject cracked, very dirty, or misshapen eggs.
- Store large end up at 53–59°F, RH 75–85% until setting.
| Parameter | Recommended Range |
|---|---|
| Storage Temperature | 53–59°F |
| Storage Humidity | 75–85% RH |
Incubation Steps
Setting Up the Incubator
- Level the base; add wire screen.
- Fill middle reservoir (~½ cup water) for baseline humidity.
- Insert thermometer/hygrometer probe correctly (not touching heater).
- Test sensors; run for 24h to confirm stable readings.
- Pre-warm eggs ~4h before setting to reduce condensation and narrow hatch window.
Tip: Keep room 68–78°F and avoid extension cords that drop voltage.
Temperature and Humidity
Target 99–101°F (many forced-air units center at 99.5–100.5°F). For humidity, aim for 50–55% RH on Days 1–18, then 65–70% RH during lockdown.
| Stage | Temperature (°F) | Humidity (RH %) |
|---|---|---|
| Days 1–18 | 99–101 | 50–55 |
| Lockdown (Days 19–21) | 99–101 | 65–70 |
Use a digital hygrometer and monitor the air cell via candling (or weigh eggs) to ensure appropriate moisture loss. Adjust via water channels and ventilation.
Note: Too high RH can reduce oxygen exchange and delay hatching; too low RH can make chicks “shrink-wrap” to membranes.
Turning the Eggs
Turning prevents the embryo from sticking to membranes and promotes normal development. Mark shells with “X” and “O” for easy tracking.
| Method | Frequency | Notes |
|---|---|---|
| Manual Turning | 3–5×/day (odd number), ~180° total | Alternate directions; be gentle with the chalaza. |
| Automatic Turner | Model-dependent | Verify interval & angle; stop at Day 18. |
Stop all turning on Day 18 (start of lockdown). Remove moving parts and avoid opening the incubator.
Tip: Consistency beats perfection — set phone reminders (e.g., every 4–6 hours).
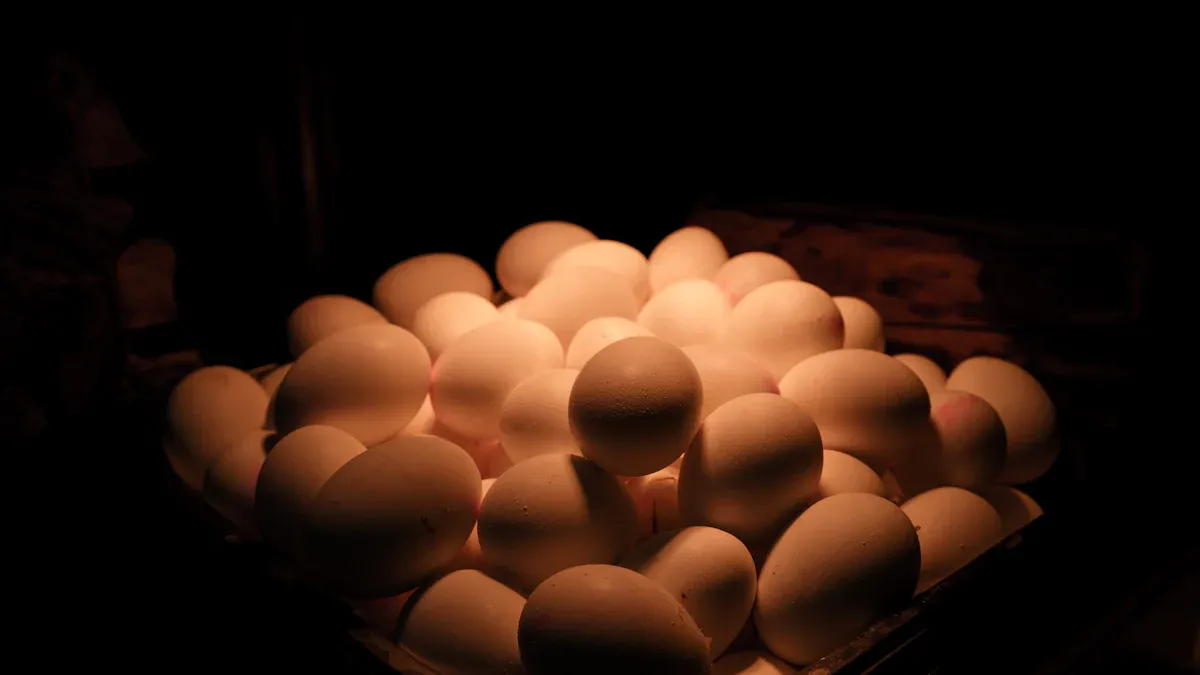
Candling & Monitoring Development
Candling uses a bright light to observe embryo progress and air-cell size without overheating the egg.
- Day 7: Look for a spider-like vessel network and a dark embryo spot; remove clears or obvious blood rings.
- Day 14: Expect most of the egg to be dark; a sizeable air cell should be visible at the large end.
- Air cell growth: If too small, lower humidity slightly; if too large, raise humidity.
Remember: Handle quickly (≤ 5–10 minutes for a full tray) and keep eggs warm during checks.
How to Hatch Chicks: Hatching and Care
Lockdown and Hatching
- Maintain 99–101°F; raise to 65–70% RH.
- Avoid opening the incubator; pressure and humidity drops can stall pipped chicks.
- Signs of hatch: internal pip → external pip → peeping & wobbling → zippering and emergence (can take hours).
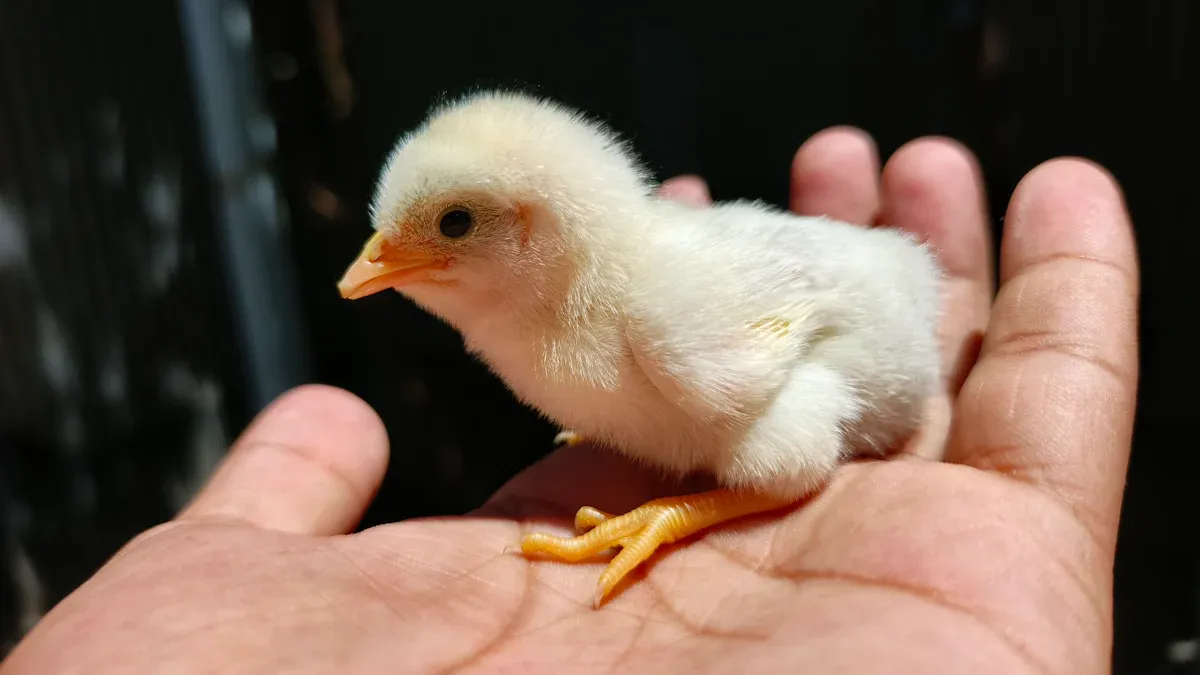
Caring for Chicks
Let chicks dry and fluff inside the incubator before moving to a brooder at 95°F for week 1 (reduce 5°F each week).
- Provide clean water and starter feed immediately; dip beaks to teach drinking.
- A bit of sugar in water can help weak chicks in the first hours.
- Keep bedding dry; prevent drafts; avoid overcrowding.
| Health Issue | Symptoms | Prevention Methods |
|---|---|---|
| Aspergillosis | Gasping, nasal discharge | Keep brooder clean and dry |
| Coccidiosis | Orange/red droppings, droopiness | Dry bedding; regular cleaning |
| Omphalitis | Swollen navel, lethargy | Hatch clean eggs; sanitize equipment |
| Salmonella | Diarrhea, fatigue | Source from clean, tested flocks |
| “Rot Gut” | Foul diarrhea, listlessness | Avoid crowding; clean regularly |
More post-hatch care: what to do after eggs hatch.
Troubleshooting and Tips
Common Mistakes
- Dirty or cracked eggs → bacterial risk.
- Temperature drift >1–2°F → early/late or weak hatches.
- Humidity too low/high → shrink-wrap or drowned chicks.
- Infrequent turning (Days 1–18) → embryo adhesion.
- Opening during hatch → rapid RH drop stalls chicks.
- Dirty incubator → pathogen load rises rapidly.
| Symptoms | Probable Cause | Corrective Measures |
|---|---|---|
| Clear eggs, no development | Poor fertility or storage | Improve breeder nutrition; refresh egg supply |
| Erratic hatch timing | Improper temperature | Calibrate thermometer; stabilize room conditions |
| Malpositioned or weak chicks | Inadequate turning | Turn 3–5×/day until Day 18 (odd number) |
| Late pips, chicks stuck | Low humidity during incubation | Raise RH; verify with separate hygrometer |
| Pipped but failed to hatch | Low RH during hatch | Maintain 65–70% RH during lockdown/hatch |
Tip: Candle before setting to reject hairline cracks; track air-cell size to fine-tune humidity.
Successful Hatch Tips
- Still-air units often prefer ~101°F; forced-air ~99.5–100.5°F.
- Aim for 55–60% RH overall if your local climate is very dry, but keep 65–70% RH for lockdown.
- Rotate an odd number of times daily; stop at Day 18.
- Candle Day 7 & 14 for development and air-cell checks.
- Use warm water in reservoirs to bump RH quickly when needed.
- Ventilation matters: fresh air supports oxygen needs late in incubation.
Note: After hatch, gently taper temperature in the hatcher; keep brooder humidity moderate (~52–54% RH) for the first day.
You now have a complete path from preparation to first-week chick care. Stay patient and attentive — each hatch builds skill and confidence.
- Hands-on learning sparks curiosity.
- Responsibility grows with routine care.
- Raising a diverse flock is deeply rewarding.
Every hatch brings new skills and confidence. You can succeed — enjoy every step of your poultry adventure! 🐣
FAQ
How many eggs should you set in the incubator for your first hatch?
For your first hatch, start with 6–12 eggs. It’s enough to learn the process (turning, humidity control, candling) while still giving you a good chance of hatching a few healthy chicks.
Can you use store-bought eggs for hatching?
Usually, no. Most grocery store eggs are not fertilized and won’t develop. For hatching, buy fertilized hatching eggs from a reputable hatchery or a trusted local breeder, and handle them carefully during transport and storage.
What should you do if the eggs get dirty before incubation?
Avoid washing eggs because water can remove the protective bloom and push bacteria into the shell. Instead:
-
Gently brush off small bits of dry dirt with a soft, dry cloth or brush.
-
If an egg is very dirty or smeared, it’s safer not to set it in the incubator.
How long does it typically take for chicken eggs to hatch?
Most chicken eggs hatch in about 21 days. A small hatch window is normal, so you may see chicks hatch around Day 20–22, especially if temperature, egg age, or incubator conditions vary slightly.
What temperature is ideal for hatching chicken eggs?
Most home incubators do best at 99–101°F, with many forced-air incubators aiming around 99.5°F. The key is stability—large temperature swings can lower hatch rates. Use a reliable thermometer and place it at egg level.
What humidity levels are ideal for hatching chicken eggs?
A common home-incubation target is:
-
Days 1–18: 50–55% relative humidity
-
Lockdown (final days): 65–70% relative humidity
If humidity is too low during hatch, the inner membrane can dry out and make it harder for chicks to zip and emerge.
When does the “lockdown” period begin for chicken eggs before hatching?
Lockdown usually begins on Day 18. At this point:
-
Stop turning the eggs
-
Increase humidity to about 65–70%
-
Avoid opening the incubator during pipping and hatching to prevent sudden humidity drops
Why do some chicken eggs hatch earlier or later than the expected date?
The most common reason is temperature differences over time:
-
A slightly warmer average temperature can lead to an earlier hatch
-
A slightly cooler average temperature can cause a later hatch
Other factors include egg storage time before incubation, egg size, airflow/ventilation, and general incubator consistency. A steady environment matters more than chasing perfect numbers every hour.
What is the typical hatching rate for chicken eggs incubated at home?
Hatch rates vary a lot based on fertility, egg quality, shipping/handling, and incubator accuracy. Many home keepers see improvement over time:
-
Beginners may hatch fewer at first while learning
-
With good fertile eggs and stable conditions, strong hatch rates (often around ~70–85% of fertile eggs) are commonly achievable
Focus on consistent temperature, correct humidity (especially during lockdown), proper turning through Day 18, and clean equipment.
What happens if the power goes out during incubation?
If the power goes out:
-
Keep the incubator closed as much as possible to hold heat and humidity.
-
For longer outages, wrap the incubator with towels/blankets for insulation (don’t block vents completely if the outage is extended).
-
Once power returns, let the incubator stabilize and continue incubation.
Short outages are often survivable if the temperature drop is small and the eggs stay warm.


0 Comments